



Works with Starlink Mini
Australian designed
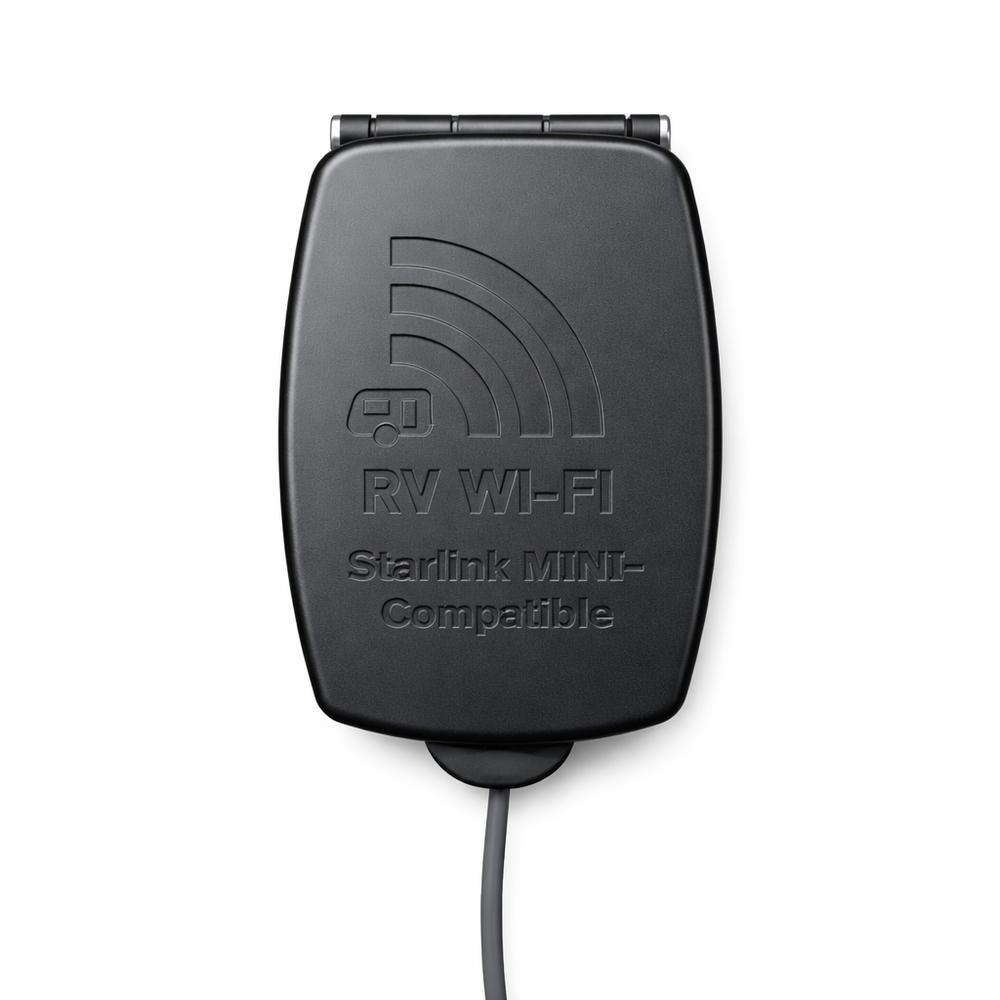
Starlink MINI 12V to 30V Caravan Power Socket!
- $249.00
- $249.00
- Unit price
- per
Couldn't load pickup availability
Free shipping Australia-wide
Dispatched in 1–2 business days
2-year warranty
On every RV WIFI product
30-day returns
Change-of-mind on unused items
Australian designed
Proudly Australian since 2015
Pairs well with
Loading recommendations...
72-hour MINI socket offer: $50 off automatically in cart. Pay $199 inc GST instead of $249. Starts at 9am today!! Ends as Sunday 8 November finishes (AEDT). No code needed. Starlink MINI and installation not included.Run your Starlink MINI directly from your caravan's 12V system.
No inverter.
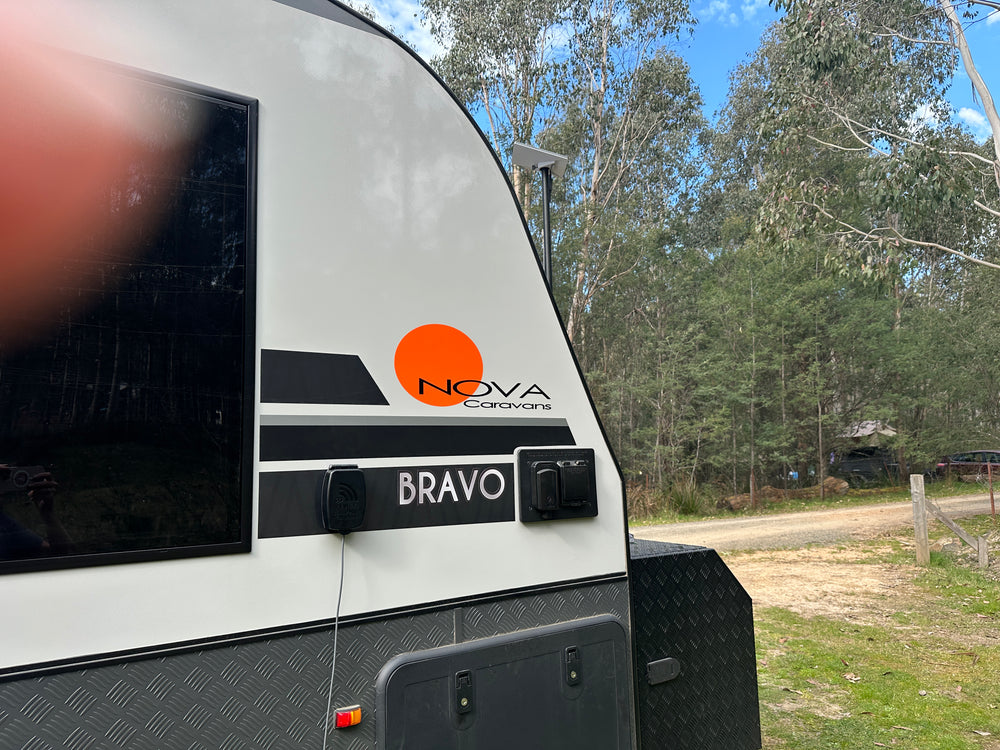
Just connect your original Starlink MINI cable and you're ready to travel.
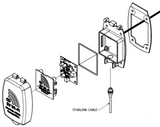
Everything you need for a convenient Starlink MINI power connection, ready for installation in your caravan, motorhome or RV.
Package Includes:
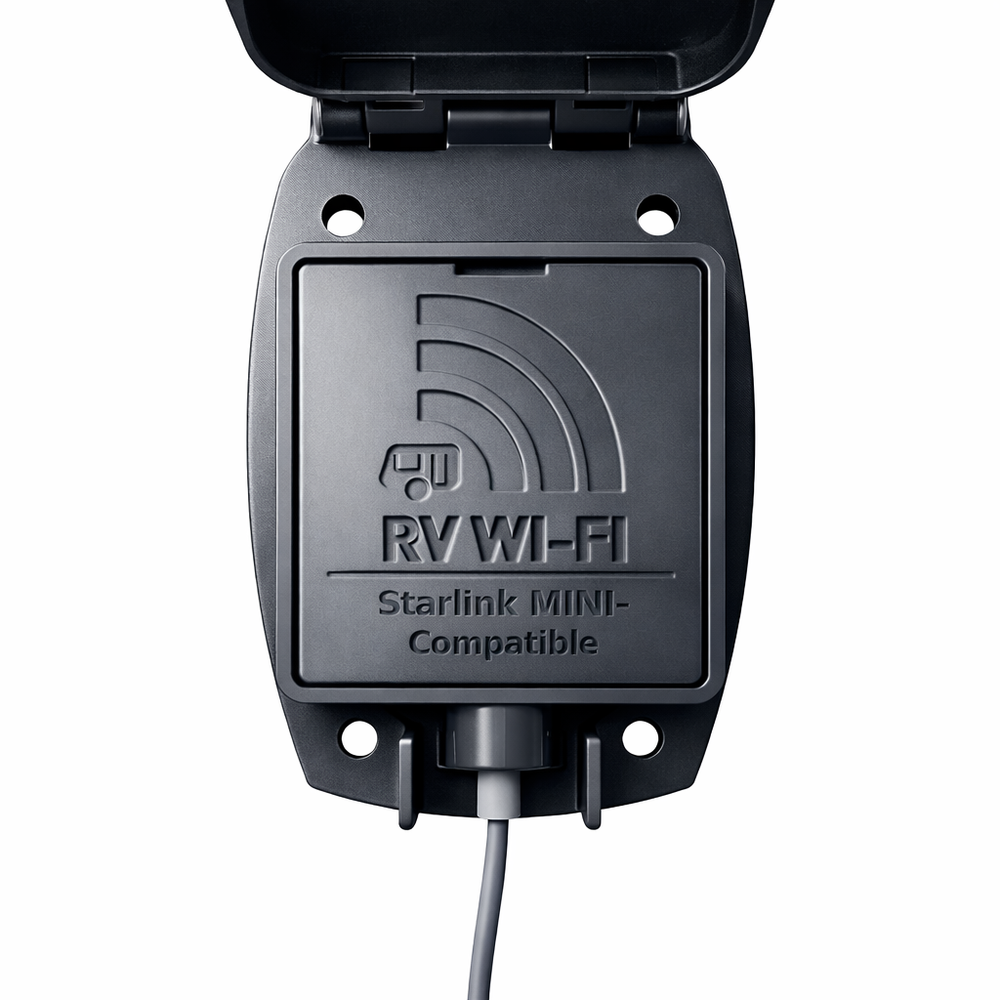
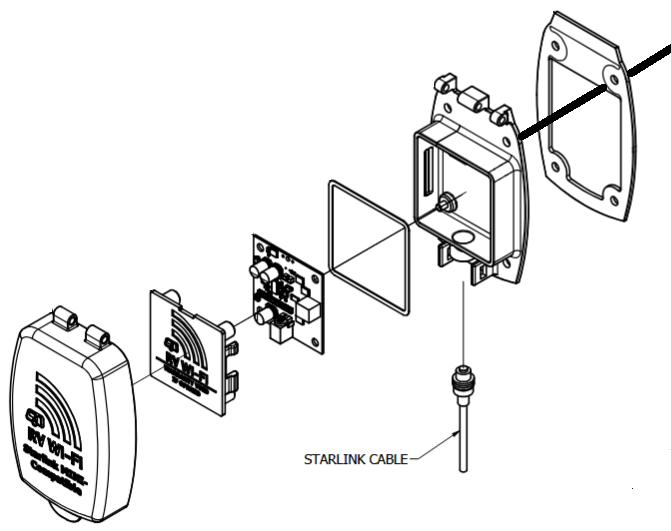
- 1 × Starlink MINI Compatible Power Socket – A compact, purpose-built socket designed to power your Starlink MINI directly from your vehicle's DC electrical system.
- 1 × Weatherproof Stopper – Helps protect the socket when your Starlink MINI is disconnected or not in use.
Please Note: Starlink MINI, the original Starlink MINI power cable, installation wiring, fuse and mounting accessories are not included.
| Specification | Details |
|---|---|
| Product Name | Starlink MINI 12V to 30V Caravan Power Socket |
| Brand | RV WiFi |
| Compatibility | Starlink MINI |
| Input Voltage | 12V–24V DC |
| Output Voltage | Approximately 30V DC |
| Maximum Current Rating | 6A |
| Typical Current | Approximately 2A |
| Operating Temperature | -20°C to +60°C |
| Power Conversion | DC-to-DC, no inverter required |
| Efficiency | Up to 26% more efficient than alternative 12V solutions |
| Cable Compatibility | Original 15m Starlink MINI cable |
| Recommended Installation Cable | Twin-core 1.85mm² (15A rated), maximum 5m |
| Fuse Requirement | 10A inline fuse for an otherwise unprotected circuit |
| Safety Features | Reverse polarity and overload protection |
| Applications | Caravans, motorhomes, RVs and off-grid installations |
| Warranty | 2-year limited warranty |
Enjoy reliable Starlink MINI connectivity on the road with a convenient, permanently installed power socket.
Installation Instructions
-
Step 1 – Disconnect the Power
Ensure your vehicle's DC power supply is completely disconnected before beginning installation.
-
Step 2 – Select a Suitable Location
Choose an accessible mounting position with sufficient space for wiring behind the surface. Avoid excessive heat, moving parts and areas prone to water exposure. A 10mm hole is required to feed the power cable through.
-
Step 3 – Prepare the Wiring
Use appropriately rated twin-core 1.85mm² cable, with a recommended maximum length of 5 metres. Install suitable circuit protection, including a 10A inline fuse if the circuit is not already protected.
-
Step 4 – Connect the Power Supply
Connect the positive and negative wires to their corresponding terminals. Verify the supply voltage and polarity using a multimeter before proceeding.
-
Step 5 – Secure the Socket
Mount the socket firmly to a clean, stable surface using appropriate mounting hardware. Ensure all connections are secure and protected.
-
Step 6 – Test the Installation
Reconnect the power supply and test the socket. Connect your original Starlink MINI cable and verify that your Starlink MINI powers on correctly.
How to Use
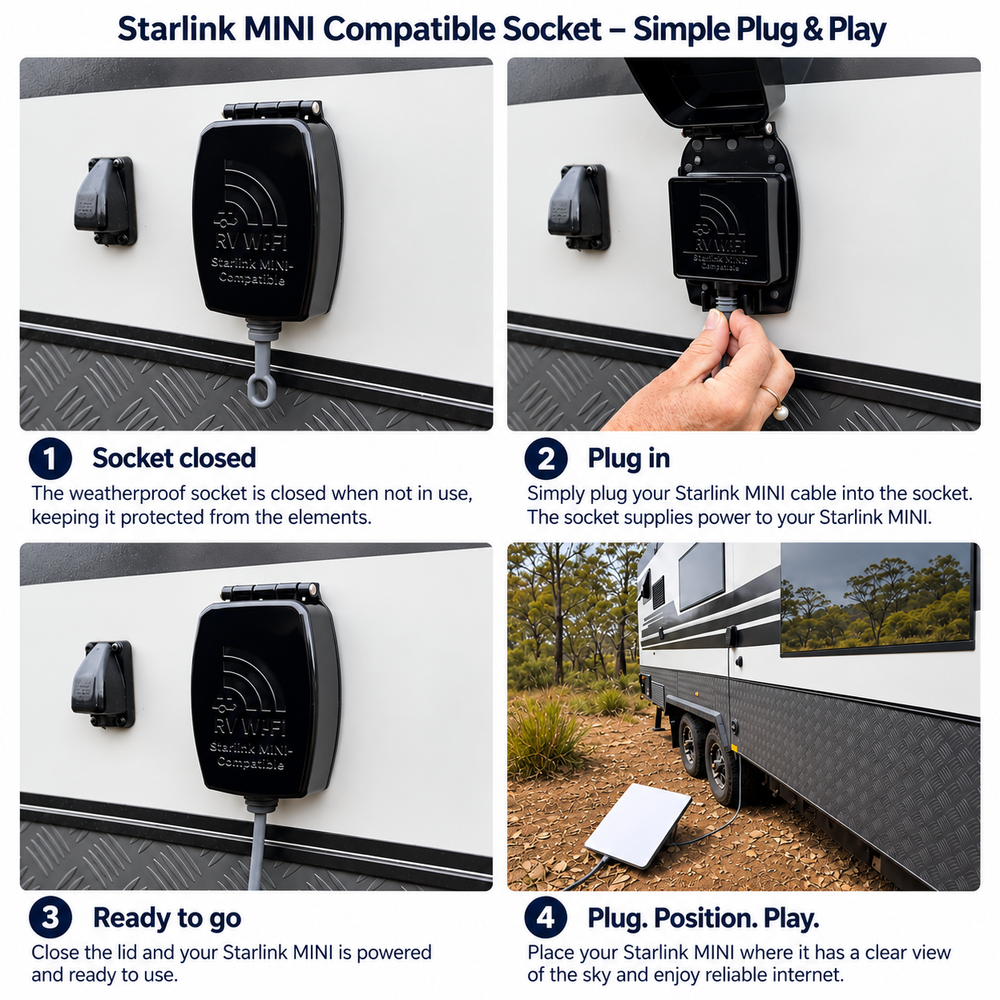
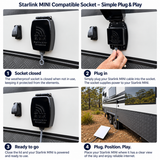
- Remove and safely store the weatherproof stopper.
- Lift the socket cover and insert your original Starlink MINI power cable.
- Close the socket cover fully.
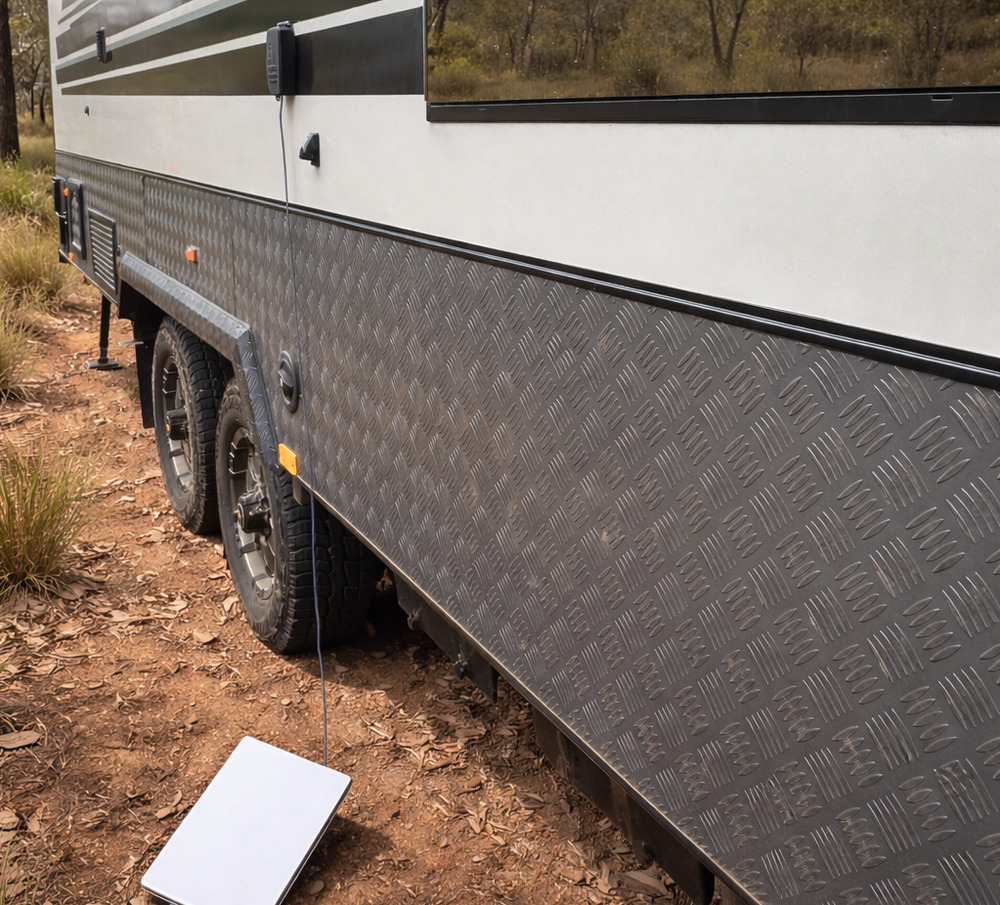
- Position your Starlink MINI with a clear view of the sky.
- Allow approximately 60 seconds for the Starlink MINI to power up.
- Open the Starlink app and follow the connection instructions.
Important Safety Information
- Installation should be performed by a suitably qualified technician.
- Always disconnect the power supply before installation or maintenance.
- Ensure appropriate fuse protection and correct wiring polarity.
- Keep electrical connections dry and properly protected.
- Use the recommended cable size and minimise cable length to reduce voltage drop.
- Do not operate the socket outside its specified voltage and temperature limits.
Need Additional Assistance?
For detailed installation instructions, troubleshooting and technical support, visit the Official Starlink MINI Socket User & Installation Guide or contact info@rvwifi.com.au.
Safety Information
For safe and reliable operation of your Starlink MINI Compatible Power Socket, please read and follow these safety guidelines before installation and use.
Electrical Safety
- Always disconnect the vehicle's power supply before installing or servicing the socket.
- Ensure the input voltage is within the specified 12V–24V DC operating range.
- Verify correct positive (+) and negative (−) wiring connections before powering on.
- Use appropriately rated wiring and circuit protection, including a 10A inline fuse where required.
- Never connect the socket directly to a 240V AC power supply.
Installation Precautions
- Installation should be carried out by a suitably qualified technician.
- Mount the socket securely in a dry, accessible and well-ventilated location.
- Keep wiring away from sharp edges, moving components and high-temperature surfaces.
- Ensure all electrical connections are secure and properly insulated.
- Do not modify, dismantle or attempt to repair the socket yourself.
Safe Operation
- Only use the socket with compatible Starlink MINI equipment.
- Avoid exposing electrical connections to excessive moisture or direct water ingress.
- Always secure the protective cover or weatherproof stopper when the socket is not in use.
- Do not operate the socket if the housing, cables or connectors are damaged.
- Disconnect the power immediately if you notice unusual heat, smoke, burning smells or irregular operation.
Maintenance & Care
- Regularly inspect the socket and wiring for signs of wear, corrosion or damage.
- Clean the exterior using a soft, dry cloth. Avoid harsh chemicals or abrasive cleaners.
- Keep the socket free from dust, dirt and debris.
- Disconnect the power supply before cleaning or performing maintenance.
Important Notice
Incorrect installation or use may result in electrical damage, equipment failure or personal injury. Always follow the manufacturer's installation instructions and applicable electrical safety standards.
Returns Policy
You may return most new, unopened items within 30 days of delivery for a full refund. We'll also pay the return shipping costs if the return is a result of our error (you received an incorrect or defective item, etc.).
You should expect to receive your refund within four weeks of giving your package to the return shipper, however, in many cases you will receive a refund more quickly. This time period includes the transit time for us to receive your return from the shipper (5 to 10 business days), the time it takes us to process your return once we receive it (3 to 5 business days), and the time it takes your bank to process our refund request (5 to 10 business days).
If you need to return an item, simply login to your account, view the order using the "Complete Orders" link under the My Account menu and click the Return Item(s) button. We'll notify you via e-mail of your refund once we've received and processed the returned item.
Shipping
We can ship to virtually any address in the world. Note that there are restrictions on some products, and some products cannot be shipped to international destinations.
When you place an order, we will estimate shipping and delivery dates for you based on the availability of your items and the shipping options you choose. Depending on the shipping provider you choose, shipping date estimates may appear on the shipping quotes page.
Please also note that the shipping rates for many items we sell are weight-based. The weight of any such item can be found on its detail page. To reflect the policies of the shipping companies we use, all weights will be rounded up to the next full pound.
QUESTIONS ABOUT THIS PRODUCT
Before you buy
Can I fit it myself?
- We recommended an Auto Electrician for most wiring requirement.
How long does delivery take?
All items are shipped within 1-2 business days via Australia Post
What is the warranty on this product?
All products have a 2 year warranty.
How can l get help if l get stuck?
- Email us at info@rvwifi.com.au or contact us.
You may also like
Example product title
- $249.00
- $249.00
- Unit price
- per
Example product title
- $249.00
- $249.00
- Unit price
- per
Example product title
- $249.00
- $249.00
- Unit price
- per
Example product title
- $249.00
- $249.00
- Unit price
- per
Example product title
- $249.00
- $249.00
- Unit price
- per
Example product title
- $249.00
- $249.00
- Unit price
- per
Example product title
- $249.00
- $249.00
- Unit price
- per
Example product title
- $249.00
- $249.00
- Unit price
- per
Example product title
- $249.00
- $249.00
- Unit price
- per
Example product title
- $249.00
- $249.00
- Unit price
- per
- Choosing a selection results in a full page refresh.